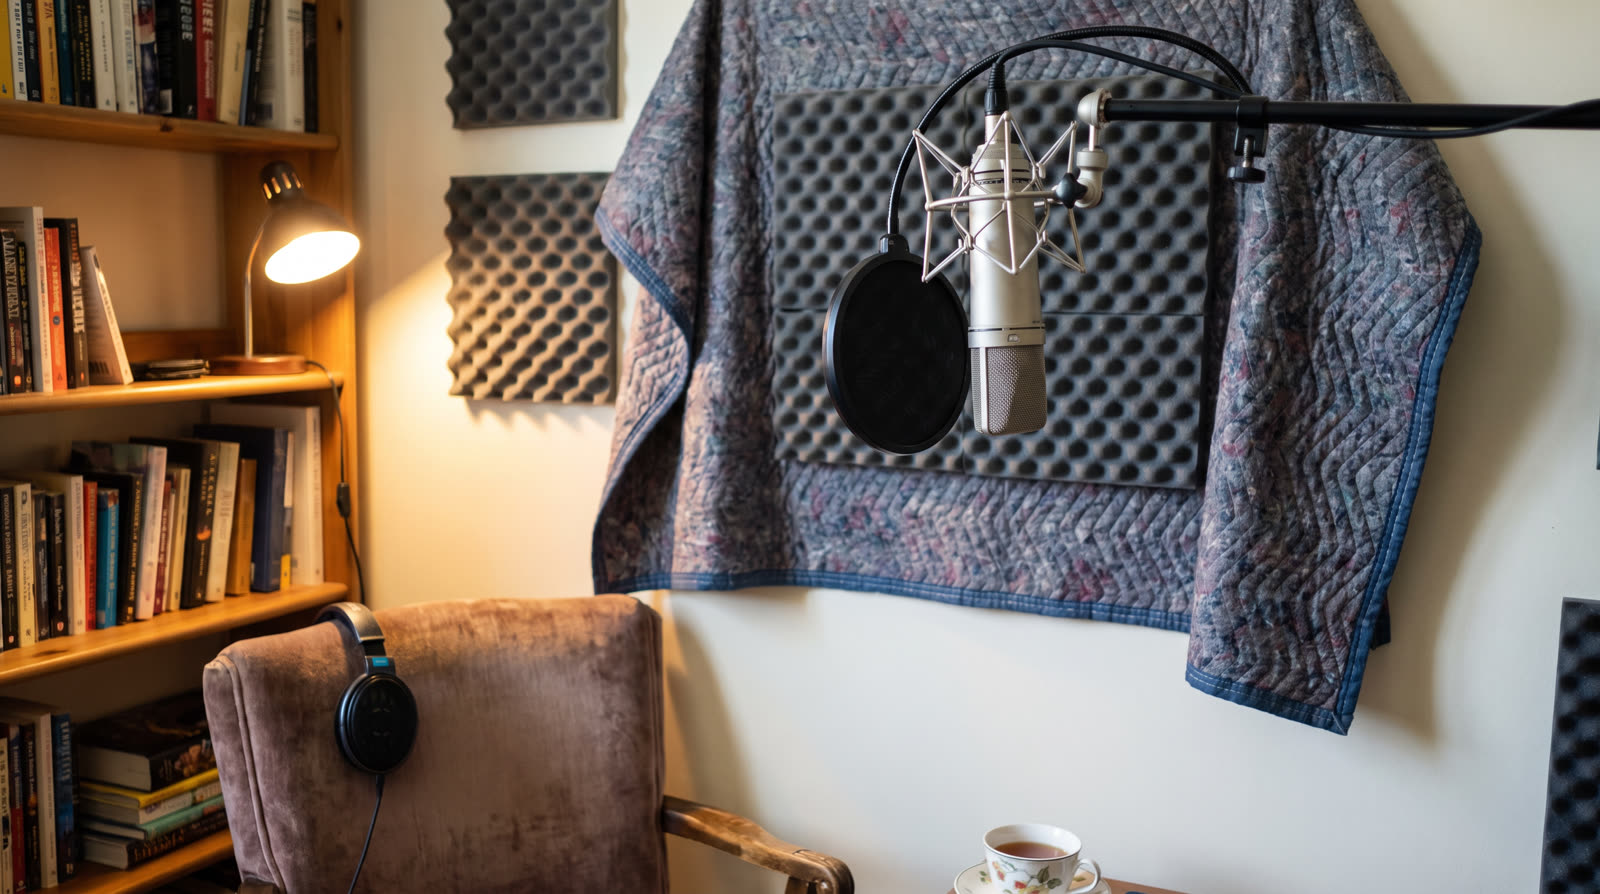
Play a raw recording from a $3,000 microphone in an untreated bedroom next to a $100 microphone in a well-treated closet, and almost everyone picks the closet. Clients hear it instantly, even when they cannot name it: the bedroom take sounds distant, boxy, and somehow small, because half of what reaches the mic is not your voice. It is your voice a few milliseconds late, bouncing off drywall, glass, and that big blank wall behind your desk.
The good news is that treating a room for voice over is the cheapest problem in audio. You are one person, speaking close to one microphone, in one small area. You do not need to treat a control room for mixing or soundproof a drum room. You need to kill the reflections in a bubble around the mic, and most of the tools for that are already in your house.
This guide covers what actually causes that roomy sound, the budget fixes ranked by how much they help per dollar, the popular purchases that do almost nothing, and how to measure your room before and after so you know the money worked.
Treatment and Soundproofing Are Different Problems
This one distinction saves people hundreds of dollars, so it goes first. Acoustic treatment stops your own voice bouncing around the room and smearing your recording. Soundproofing stops outside sound (traffic, neighbors, the dishwasher) getting in. They are solved with completely different physics.
Treatment is about absorption, and soft, thick, porous materials do it well. Blankets, duvets, clothes, mineral wool, dense foam. This is the cheap problem.
Soundproofing is about mass and isolation. Real soundproofing means heavy walls, sealed doors, and decoupled construction, and no $40 purchase does it. If a product promises to "soundproof" your room with foam squares, it is lying to you. What you can do on a budget is reduce noise at the source (turn things off), pick your quietest room and quietest hours, and let a noise tool clean up what remains.
Which problem do you actually have?
Record ten seconds of silence, then ten seconds of speech, and listen back on headphones. If the silence is noisy (hum, hiss, traffic), that is a noise problem. If the silence is clean but your voice sounds like it was recorded in a bathroom, that is a reflection problem, and this article is for you. Most untreated rooms have some of both.
What the Room Does to Your Voice
When you speak, sound leaves your mouth in every direction. Some of it travels the short, direct path into the microphone. The rest hits the walls, ceiling, floor, desk, and window, and a portion of that bounces back into the mic a few milliseconds later, quieter and duller than the original. The recording becomes your voice plus dozens of faint, late copies of your voice.
The measurable version of this is the reverb tail: how long sound keeps ringing in the room after you stop making it. A furnished bedroom typically rings for 300 to 500 milliseconds. A professional booth is under 100. Your ear reads a long tail as "amateur" long before your brain works out why, and unlike a noisy fridge, reflections cannot be cleanly removed in software afterward. Baked-in room sound is baked in, which is why treatment is worth doing before you spend another dollar on gear.
The $0 Tier: Use What the House Already Owns
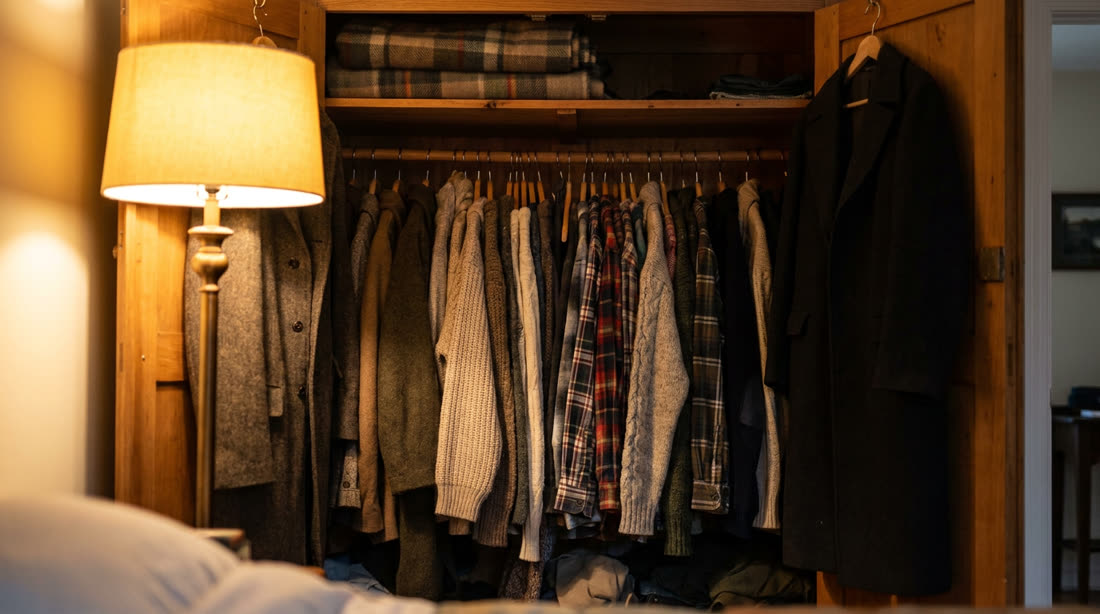
- Record inside a full closet. Hanging clothes are dense, irregular, deep absorption, which is exactly what acousticians build on purpose. A packed wardrobe outperforms a foam-lined wall, for free. Face into the clothes, mic between you and them.
- Build the duvet fort. Drape your thickest duvet or comforter over two chairs, a clothes rack, or a broom handle across two shelves, and speak into the pocket it forms. It looks ridiculous and sounds shockingly good. Plenty of working narrators recorded their first paid audiobooks this way.
- Move into the softest room. Carpet beats floorboards, curtains beat glass, a full bookshelf beats a bare wall. The worst room in the house is the one with hard floors and big windows, which for many people is, unfortunately, the home office.
- Speak across the room, not at a wall. Point the quiet side of the mic at the nastiest surface, and never record facing a window or bare wall at close range: it bounces your voice straight back into the capsule.
- Get closer to the microphone. Direct sound falls off with distance but the room stays constant, so closing from 30 cm to 15 cm roughly doubles your voice against the reflections. Watch plosives, use a pop filter, and mind your levels.
The Under-$100 Tier: Where Money Actually Helps
Moving blankets are the best acoustic purchase per dollar in existence. The heavy, quilted furniture blankets sold at hardware stores for $15 to $25 each are dense enough to absorb meaningful mid and high frequency energy. Two or three of them, hung on hooks, a clothes rack, or a cheap pipe frame around your recording position, will transform an untreated corner. They are also portable: narrators travel with two blankets and a folding rack as a pop-up booth.
- Three moving blankets, about $60. Hang them in a U shape around the mic position, floor to above head height. This is the core of the fix.
- A thick rug, if the floor is hard, about $30 secondhand. The floor is the biggest surface in the room, and it is right under your mouth.
- Hooks, a spring rod, or a secondhand clothes rack, about $10 to $20. Whatever holds the blankets up. Renters can use tension rods and leave no holes.
Cover the wall behind the microphone first (the one you are facing while you speak), then the two side walls at mouth height, then think about the ceiling only if you still hear slap in the recording. Those first reflection points, the surfaces your voice hits first on its way back to the mic, do most of the damage and therefore give most of the improvement.
The corner trick
Set up in a corner facing OUT of it, with the blankets behind and beside the mic. The room behind you gets a long, obstructed path back to the microphone, and the treated corner catches the strong early reflections. Same blankets, noticeably better result than flat against one wall.
What Not to Buy
- Egg cartons. The oldest myth in home recording. They are thin, hard cardboard: almost no absorption, a small fire risk, and they make the room look like a science fair project. Genuinely worse than nothing because they replace real fixes.
- Thin foam squares as the whole plan. The 1-inch charcoal wedges sold in bulk absorb some high frequencies and very little else. Your voice's body lives lower than they reach. As a supplement at reflection points, fine. As "my room is treated now", no.
- Anything marketed as soundproofing foam. See above: foam does not stop sound entering a room. The word soundproof on a foam product is marketing, full stop.
- A $400 microphone upgrade before a $60 room fix. A better mic in an untreated room is a higher-fidelity recording of the problem. Room first, then gear.
Prove It Worked: Measure, Do Not Guess
Ears adapt within minutes, which is why your room always sounds normal to you and why before-and-after judgments by ear are nearly worthless. Numbers do not adapt. Before you hang a single blanket, run a free Home Studio Analysis: read the 30-second script, upload the file, and you get a measured report with your reverb tail in milliseconds, your noise floor, and a score out of 100.
Then hang the blankets, record the same script in the new setup, and run it again. The tool compares the two runs side by side and shows exactly what moved: reverb tail down, score up, or honest confirmation that a change did nothing. Aim to get the reverb tail under roughly 150 milliseconds; below that, rooms stop sounding like rooms and start sounding like studios. If you test more than one arrangement, the history chart tracks every run, so the blanket experiment becomes actual data.
↗ Try the tool
Home Studio Analysis
Free, no account needed: read the test script, upload it, and get your room's reverb tail, noise floor, hum, and sibilance measured, with a fix list ordered by what matters most. Run it before and after treating, and see what your $60 actually bought.
Open Home Studio Analysis →The Half of the Problem Blankets Cannot Fix
Treatment tames reflections. It does very little for the fridge, the air conditioner, the computer fan, or the hiss of a cheap interface, because those are noise sources, not echoes. Once the room stops ringing, quiet noise often becomes more noticeable, not less, since there is nothing left to mask it.
Handle noise in two passes. First, physically: record with appliances off, phone out of the room, computer as far from the mic as cables allow. Then, in software: modern noise removal strips steady broadband noise cleanly in a way it never could with reflections. That split is why treat-the-room-then-clean-the-noise beats any single silver bullet, and why our guide to removing background noise treats them as separate jobs.
↗ Try the tool
Studio Rescue
Studio Rescue removes the hiss, hum, and background wash a room fix cannot touch, on our own servers, and shows the measured noise floor before and after. Blankets for the echo, Rescue for the noise.
Open Studio Rescue →Common Questions
Is a small closet too small?
Small and full of clothes beats big and bare every time. Tiny untreated spaces can sound boxy, but the clothes are the treatment: if the closet is packed, the reflections die before they build up. If it is a bare-walled closet, hang the moving blankets inside it and you have built a booth.
I already bought foam. Was it wasted?
Not wasted, just not finished. Put the foam at your first reflection points, mouth height on the wall you face and the side walls, and add mass elsewhere with blankets. Foam plus blankets covers more of the frequency range than either alone.
What reverb tail should I aim for?
For voice over, under roughly 150 milliseconds reads as professional, and under 100 is booth territory. Between 150 and 250 is workable for some content but audible on close listening. Above 300, treatment should come before your next audition. Measure it free with the Home Studio Analysis rather than guessing by ear.
Will this get me to audiobook spec?
Room treatment is the biggest step. Audiobook retail spec also cares about your noise floor (-60 dB RMS) and levels, which are the other half of the job: see the ACX requirements guide for the full checklist, and remember the measured report from your studio analysis tells you which side you are failing.
The One-Afternoon Plan
- Run a Home Studio Analysis and write down your reverb tail and score. That is your before.
- Pick your softest room, or your fullest closet. Corner position, facing out.
- Hang two or three moving blankets in a U around the mic, floor to above your head. Rug down if the floor is hard.
- Move the mic in to 15 to 20 cm, pop filter on, quiet side facing the worst surface.
- Record the same script again and re-run the analysis. Keep what moved the numbers, undo what did not.
Total spend: under $100, mostly on blankets. Total time: an afternoon. It is the least glamorous upgrade in voice over and the one your next client will actually hear.