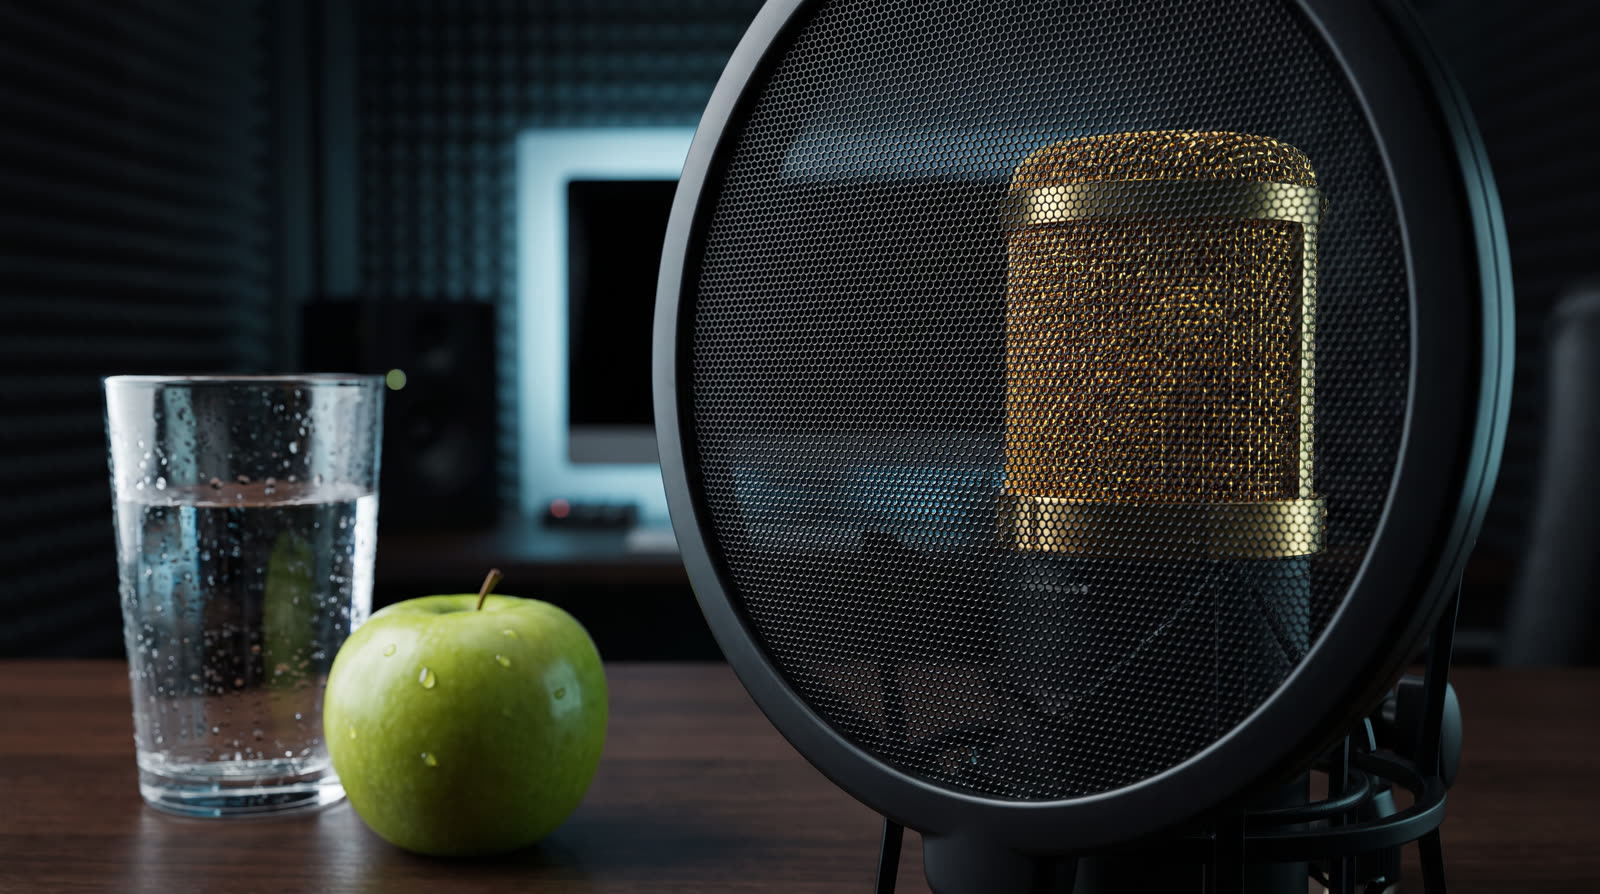
Listen to a professionally delivered voice over on good headphones and part of what you are hearing is an absence. No little wet ticks between words. No thump of air when a sentence starts with P. No esses that make you flinch at high volume. None of these noises are part of anyone's voice; they are byproducts of mouths, air, and microphones, and every working voice actor has fought all three.
They matter more than they seem because of where your audio gets heard. Audiobook listeners wear earbuds at midnight. Corporate clients loop your explainer through studio monitors. A mouth click you cannot hear on laptop speakers is a rifle shot at chapter three, paragraph two, and audiobook quality control is specifically listening for it: ACX's published submission requirements ask for audio free of extraneous sounds, and mouth noise is named in their guidance.
This guide takes the three noises one at a time: what physically causes each, the prevention that costs nothing, and what your options honestly are once one is already in the recording.
Mouth Clicks: The Wet Tick Between Words
Clicks are the sound of saliva films stretching and snapping as your tongue, lips, and palate separate. Everyone's mouth does it. The microphone 15 centimeters from your lips simply hears it better than any human ever has. Dryness makes it dramatically worse, which is why clicks arrive in force exactly when you are nervous, caffeinated, or an hour into a session.
Prevention, in order of effectiveness

- Hydrate hours early, not minutes early. Mouth tissue hydrates from the inside on a lag. The water you drink during the session helps; the liter you drank through the morning helps more.
- Sip room-temperature water constantly while recording. Cold water tightens things up; room temperature keeps the mouth loose. Keep the glass inside arm's reach so you actually do it.
- The green apple trick. A bite of tart green apple before a session cuts through the sticky saliva that causes the worst clicks. It sounds like folklore; it is folklore that narrators have sworn by for decades because it reliably works. Pectin and acidity thin exactly the film that snaps.
- Skip dairy, coffee, and soft drinks right before a session. All three thicken or dry the mouth. If you need the coffee, chase it with water.
- Back off the mic a little. Clicks lose energy with distance faster than your voice does. If a session turns clicky, adding 5 centimeters costs you a touch of intimacy and saves an hour of de-clicking.
If they are already recorded
Isolated clicks respond well to editing: they are milliseconds long, so cutting or attenuating each one is tedious but clean, and every serious DAW has a de-click or spectral repair tool that automates most of it. A recording carpeted in clicks end to end is different: de-clickers pushed that hard start eating consonants. At that density, drink the water, eat the apple, and re-record. It is genuinely faster.
Find them before the client does
Loop your recording at double your normal listening volume on headphones and follow along with the script. Clicks hide at normal volume and jump out at high volume, and finding them is most of the work of fixing them.
Plosives: The P That Punches the Mic
Say "paper" with your hand a few centimeters from your mouth and you will feel a puff of air on the P. That puff, hitting a microphone capsule, is not sound in the normal sense: it is a blast of moving air that shoves the diaphragm to its limit and records as a low-frequency thump or, in bad cases, a distorted boom. B, T, and K do it too; P is just the repeat offender.
Prevention, which is nearly the whole game
- Use a pop filter, positioned to work. Its job is to break up the air jet before it reaches the capsule, and it needs distance to do it: about 10 centimeters from the mic, with you a few centimeters behind the filter. A pop filter pressed flat against the grille is decoration.
- Speak past the mic, not into it. Angle the microphone 15 to 30 degrees off your mouth's centerline, or position it slightly above and aim it down at your mouth. Your voice arrives; the air jet, which travels straight ahead, misses. This one habit prevents most plosives on its own.
- Test your position with the hand trick. Palm where the mic is, say "puppy paper popcorn". If you feel breath on your palm, the mic feels it too: adjust the angle until you do not.
If they are already recorded
A mild thump often disappears with a high-pass filter around 80 to 100 Hz, because the thump lives below your voice. A hard pop that distorted the capsule is not removable: the diaphragm hit its limits and the waveform is damaged. Re-record that phrase. This asymmetry, mild is trivial and severe is impossible, is why plosives are a prevention problem first.
Sibilance: When Esses Turn to Knives
S, SH, and soft C sounds are bursts of high-frequency noise, mostly between 5 and 9 kHz, made by air hissing through the narrow gap behind your teeth. Some sibilance is speech; without it you sound like you have a lisp. The problem is excess: bright condenser microphones, close mic placement, and some mouths combine into esses that spike far above the rest of the voice and physically hurt on headphones.
Prevention
- Get off-axis. The hiss jet, like the plosive jet, fires straight ahead. The same 15 to 30 degree mic angle that kills pops takes the edge off esses.
- Try a touch more distance. Sibilance is directional and drops off fast. Five centimeters can be the difference between crisp and cutting.
- Know whether it is you or the gear. Very bright budget condensers exaggerate esses. Before blaming your mouth, borrow a duller mic or check your recording against a reference voice on the same chain.
In post: the de-esser
Sibilance is the one noise of the three with a genuinely good software fix. A de-esser is a compressor that listens only to the ess band and turns it down only while an ess is happening, leaving the rest of the voice untouched. Every DAW ships one. Set the detection band around 5 to 8 kHz, start with a few dB of reduction, and stop before speech sounds lispy: over-de-essing is as amateur a tell as the esses were.
If you are not sure whether your recordings have a sibilance problem at all, measure instead of guessing: the free Home Studio Analysis reports sibilance as one of its six scored dimensions, from your actual audio, alongside your room's reverb tail and noise floor. Numbers beat worried listening.
↗ Try the tool
Home Studio Analysis
Upload a 30-second read and get six measured scores for your setup, including sibilance and plosive energy, with a fix ordered first by what matters. Free, no account, and you can re-run it after changing your mic angle to see the difference as numbers.
Open Home Studio Analysis →Which Noise, Which Fix: The Cheat Sheet
- Tick or click between words: mouth noise. Water through the day, green apple before the session, de-click tool for survivors. Dense clicking: re-record.
- Low thump on P and B words: plosive. Pop filter at 10 cm, mic off-axis, high-pass at 80 Hz for mild cases. Distorted pop: re-record the phrase.
- Esses that stab at high volume: sibilance. Mic angle and distance first, then a de-esser at 5 to 8 kHz doing a few dB.
- Steady hiss or hum under everything: none of the above. That is your room or your gear, a different problem with its own guide.
The pattern worth noticing
All three noises share one prevention: microphone position. Off-axis placement with a properly spaced pop filter attacks clicks, pops, and esses at once, costs nothing, and takes ten seconds. It is the highest-value habit in home recording.
Where This Fits in a Real Session
Working narrators do not fix mouth noise at the end of a project; they manage it through the session. Water and the apple before pressing record. Mic angle checked once, then left alone. A click-heavy passage re-read on the spot rather than flagged for later, because re-reading takes eight seconds and spectral repair takes minutes. The noises this article covers are the ones worth solving at the source, at the mic, where the fix is free.
The cleanup that IS worth automating is everything else a session produces: the false starts, the repeated lines, the long silences, the room tone between takes. That is mechanical work, and Auto Clean Up does it in one pass, keeping your best take of every line. Fix the mouth at the mic; let software fix the session.
↗ Try the tool
Auto Clean Up
Upload a raw session and Auto Clean Up cuts the fumbles, repeated takes, and dead air automatically, delivering a clean file plus an edit report you can review line by line. The tedious half of editing, done before your coffee cools.
Open Auto Clean Up →