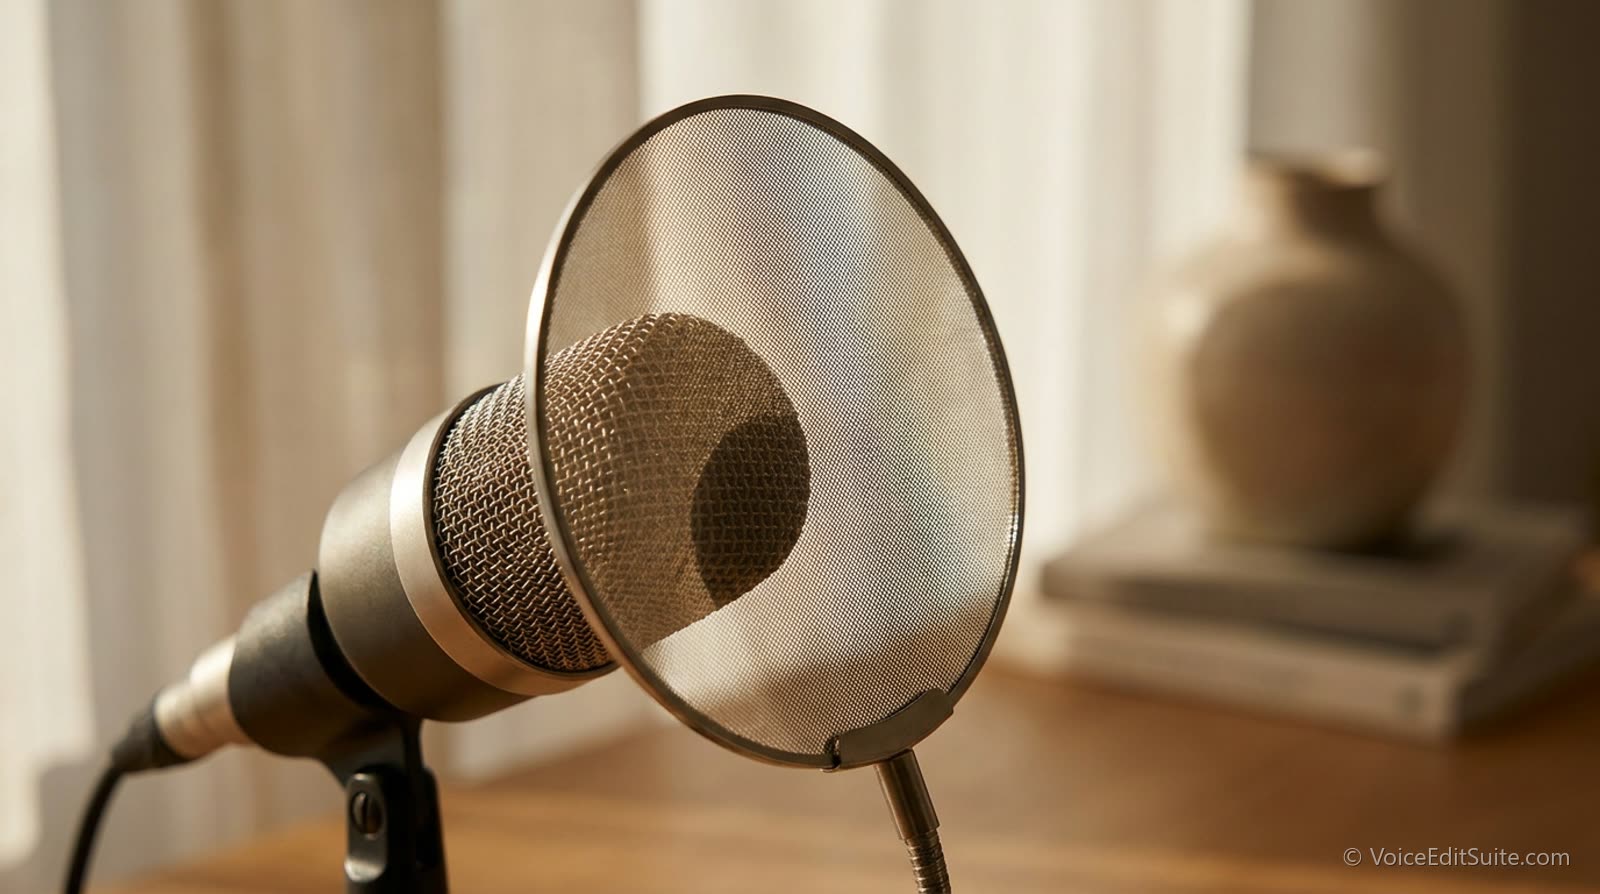
Listen back to a rough session and you will often catch it: the read is good in both takes, but one sounds thin and papery while the other sounds full and expensive. Nothing about the performance changed. What changed is how far your mouth was from the capsule, and by how much that distance drifted while you leaned into a line for emphasis. Mic technique is the least glamorous skill in voice over, and it is also the one that makes a $100 microphone sound consistent and a $1,000 microphone sound sloppy when it is ignored.
This is not about buying anything. It is about understanding one physical effect, proximity effect, and building the habits that keep it working for you instead of against you.
What Proximity Effect Actually Is
Most voice over microphones use a directional pickup pattern, cardioid being the common one, and directional capsules share a quirk: as a sound source gets closer, the low frequencies get disproportionately louder relative to the mids and highs. That is proximity effect. It is not a flaw or a cheap-mic problem; it happens on a $3,000 studio microphone exactly as it happens on a $70 USB mic, because it is a property of the capsule's directional design, not its price.
Used on purpose, proximity effect is a tool. It is why close-mic'd movie trailer voices sound huge and chesty, and why ASMR and intimate reads lean in tight. Used by accident, which is what happens when you rock toward the mic on a big line and back away on a quiet one without noticing, it is why your recordings sound inconsistent from sentence to sentence in a way that is hard to fix after the fact.
The Pattern: Closer Is Not Always Better
- Around 30 cm (a forearm's length): thin, roomy, and honest. Good for reference takes, bad for a warm commercial read, because you are hearing mostly room and very little chest.
- Around 15 cm (a hand's width plus a bit): the sweet spot for most voice over work. Enough warmth to sound present and full without the low end taking over.
- Around 5 cm: strong, chesty, deliberate. Useful for a specific character or an intimate promo, exhausting to listen to across a fifteen-minute audiobook chapter.
- Under 3 cm: heavy and often muddy, plus every breath, lip smack, and plosive gets amplified along with the bass. This is where most beginner mouth-noise complaints actually start.
Pick one distance and defend it
The goal is not finding the single correct distance. It is picking a distance for this session and holding it within a couple of centimeters take after take, so an editor (or you, later) is not fighting a tone that shifts every few lines.
Three Habits That Fix Most Mic Technique Problems
None of these require new equipment. They require noticing what your body does when you get excited about a line, which is the actual skill here.
- Mark your distance physically. A strip of tape on the desk under your pop filter, or a mic arm locked at a set position, removes the guesswork. Your ear gets used to a reference point faster than your eyes will.
- Move your body, not just your head. Leaning your neck toward the mic changes angle as well as distance, which shifts your off-axis tone unevenly. If a line calls for more intensity, lean from the waist so your mouth stays pointed the same way at the capsule.
- Go slightly off-axis on your loudest lines. Rather than backing straight away from the mic on a shout or a big laugh, turn your head a few degrees off the capsule's centerline. You keep roughly the same distance and warmth while taming the peak that would otherwise clip or blast the diaphragm.
Why This Matters More Than the Mic You Own
A buyer or director cannot hear your microphone's price tag. They can hear whether your delivery sounds like it came from one consistent voice or from three different rooms stitched together. Consistent distance is the difference between an editor spending ten minutes matching levels and spending an hour riding faders line by line, and it is a habit that survives every equipment upgrade you will ever make, because the room and technique still outrank the gear no matter what you plug in.
It also compounds with the other close-mic problems working actors fight constantly. Get too close chasing warmth and you invite the same plosive blasts and mouth clicks covered in our mouth noise guide; back off too far chasing safety and you lose the presence that makes a commercial read sound like it belongs on air. The distance habit above solves both at once.
↗ Try the tool
Home Studio Analysis
Free and no account: upload a take and see your actual noise floor, reverb, and level consistency measured, not guessed. Record the same line at three distances and compare the reports side by side to hear proximity effect in numbers.
Open Home Studio Analysis →Getting the Baseline Right Once
If you are still dialing in your first real setup, distance habits matter more than any single piece of gear you buy next, and the full home studio setup guide covers the rest of the chain, mic choice, interface, and treatment, in the order that actually pays off. Get the distance habit right first. Everything downstream gets easier once your source is consistent.
Ten minutes with a tape measure and your own recorded voice will teach you more about proximity effect than any article, this one included. Record the same sentence at 30, 15, and 5 centimeters, listen back, and you will never read that distance the same way again.