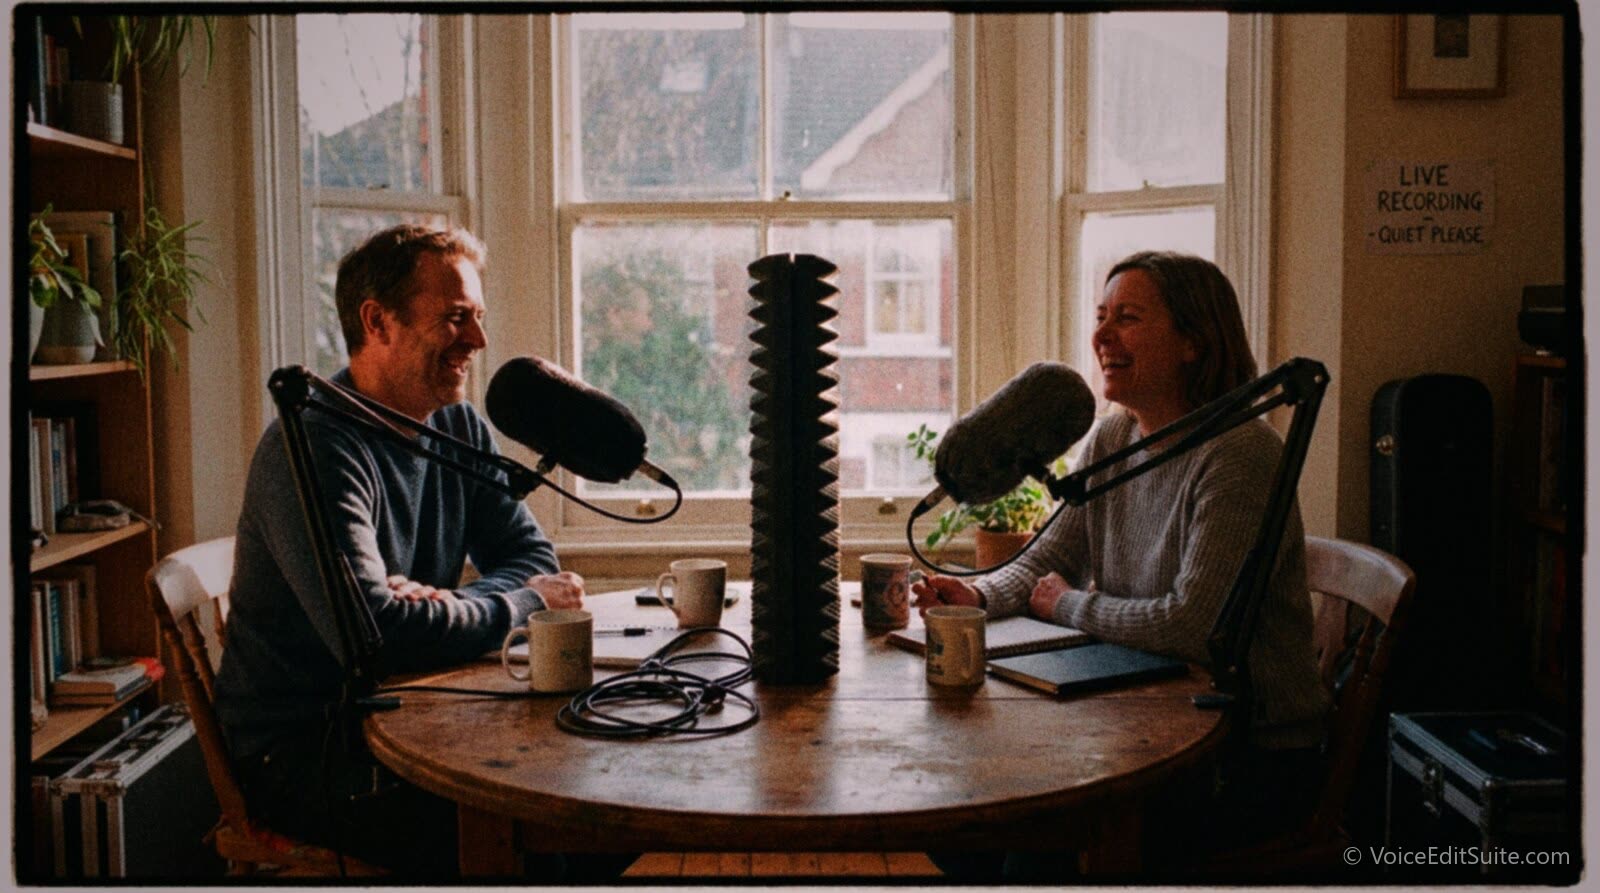
The short answer: two people recording in the same room will always leak into each other's microphones to some degree. How much depends on three things you actually control: the distance between the two microphones, the polar pattern each one is set to, and whether you gain-stage each channel on its own rather than guessing from across the table. Space the mics using a decades-old audio engineering guideline called the 3:1 rule, turn each mic's dead zone toward the other speaker, and set each channel's input level against that person's real voice rather than a shared setting, and the bleed that is left shrinks to something an ordinary edit can absorb instead of something you fight line by line.
This is a different problem from recording a duet scene with a partner in another city, where the whole challenge is making two separate rooms sound like one shared space. Here the two voices are already in one room, talking over and reacting to each other in real time, which is exactly what makes two live microphones harder to manage than two files recorded an ocean apart. A remote session never has to worry about one performer's voice physically arriving at the other performer's microphone a few milliseconds after it leaves their mouth. An in-person session always does. Whether you are two co-hosts taping a weekly episode across a kitchen table, two voice actors reading a dialogue scene face to face so the timing lands the way it would on camera, or an interviewer and a guest sharing a desk, the same physics of bleed, isolation, and gain apply, and almost all of the fix happens in setup, not in the edit afterward.
What Mic Bleed Actually Is, and Why It Complicates Editing
Bleed, sometimes called crosstalk or spill, is simply the other person's voice arriving at your microphone a fraction of a second after it arrives at theirs. It is not a defect in either mic; it is what any microphone does when there is sound in the room that is not aimed at it. The problem is not that the second voice is audible on the first track at a low level. The problem is what happens when an editor tries to work with that track afterward.
Cut a pause out of one person's track and the other person's bled-in voice on that same track gets cut too, sometimes mid-word, which is how a clean edit on one speaker turns into an audible glitch on the other. Raise that speaker's level later and you raise the bleed baked into their track right along with their own voice, so a quiet host does not just get louder, they get louder and leakier at the same time. And because the bled-in copy of a voice arrives slightly later and at a different level than the direct copy on its own microphone, summing both tracks to mono, or even just listening to them close together, can produce comb filtering: specific frequencies partially cancelling where the two slightly offset copies fall out of phase with each other, which reads to the ear as a thin, hollow, slightly underwater quality that no amount of EQ fully undoes. None of this is fatal. It is the reason two people in one room is a genuinely harder recording problem than one person alone, and why the setup choices below are worth getting right before anyone presses record rather than after.
The 3:1 Rule: The Core Math Behind Mic Spacing
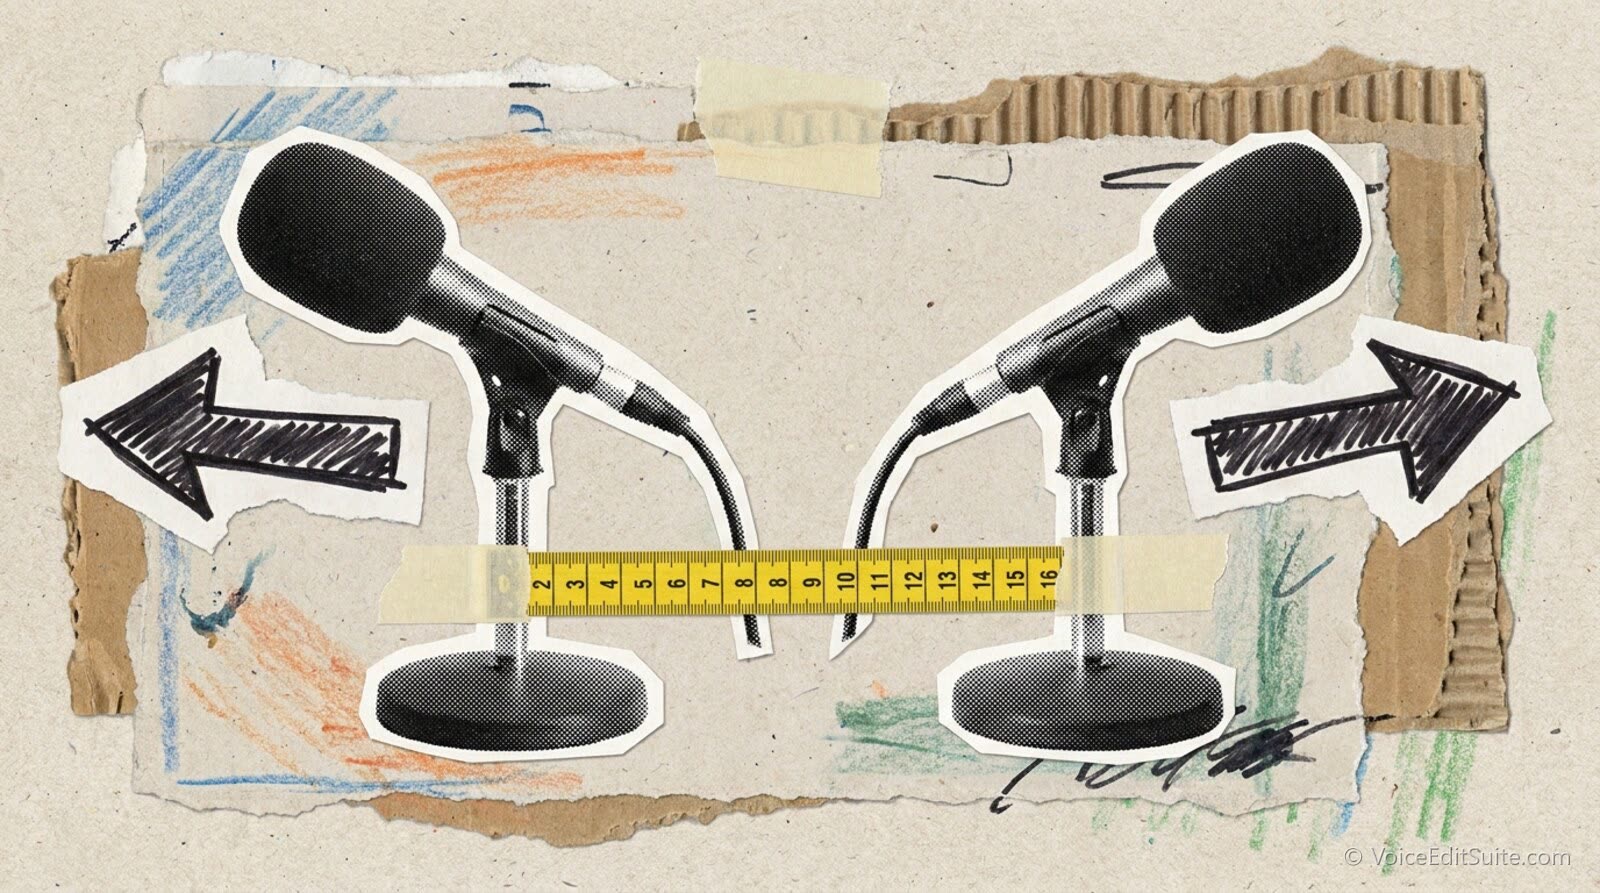
The single most useful guideline for this problem has a name, and it predates podcasting by decades. DPA Microphones' own technical glossary states it plainly: the distance between two microphones should generally be at least three times the distance from each mic to its own sound source. If your mouth sits six inches from your microphone, the two microphones in the room need to be at least eighteen inches apart. If you are eight inches off the mic, that minimum grows to twenty four inches. The rule exists to control comb filtering and phase cancellation when two mic signals end up close together in a mix, and DPA's own explanation of why it works comes down to level difference: get roughly 9 to 10 dB of separation between how loudly one mic hears your voice and how loudly the other one hears it, and the phase cancellation becomes small enough to be practically inaudible.
That 9 to 10 dB figure is not arbitrary. It falls out of the inverse square law, the same physics that makes a lamp look dimmer the farther you back away from it: triple the distance from a sound source and its level drops by about 9.5 dB. Space the mics three times farther apart than each one sits from its own speaker, and the bleed each mic picks up from the other person's voice is naturally about 9.5 dB quieter than that mic's own direct signal, which is close enough to DPA's 9 to 10 dB target that the two explanations are really the same one. Slashgear's plain-language rundown of the rule walks through the same arithmetic for anyone who wants to see the inverse square math spelled out step by step.
Why the Rule Only Gets You So Far
Two caveats matter in practice. First, the rule assumes both voices are roughly the same loudness. A co-host who projects and one who speaks softly do not follow the same math, and the quieter voice's mic ends up needing proportionally more separation to hit the same 9 to 10 dB target, which is one more reason matching two people's working levels matters before you ever touch a gain knob. Second, this is a guideline refined for minimizing audible comb filtering when multiple mic signals get combined, not a guarantee that bleed disappears once you clear the minimum distance. It is a floor, not a target to hit exactly and stop thinking about. In a small room, going well past the 3:1 minimum, four or five times the mic-to-mouth distance rather than three, costs nothing and buys you real margin, especially once you add the polar pattern choice below on top of it.
Polar Pattern Choice: Cardioid vs. Omni for Two Live Sources
Distance is only half the isolation story. The other half is which direction each microphone is actually listening in, which is what a polar pattern describes. An omnidirectional mic hears every direction at roughly equal volume, which means it cannot be aimed away from the other speaker at all; whatever distance separation you have bought with the 3:1 rule is the entire isolation budget, because the mic itself contributes none. A cardioid mic, by contrast, is built to be most sensitive in front and progressively less sensitive toward the sides and rear, and that directionality does real, measurable work for a two-mic, two-person setup.
Lewitt Audio's own guide to polar patterns puts the ideal cardioid about 6 dB down at the sides (90 and 270 degrees) and gives a typical real-world cardioid around 20 dB of rejection directly to the rear, with most usable cardioid designs landing somewhere in a 15 to 25 dB range depending on build and frequency. Stack that rear rejection on top of the roughly 9.5 dB the 3:1 rule already buys you from distance alone, and the two effects compound: a well-placed cardioid pair at proper spacing can land well past 20 dB of total separation between a speaker's direct voice and the copy bleeding into their partner's mic, which is the difference between bleed you can hear if you go looking for it and bleed that never surfaces in a normal edit.
The Back-to-Back Trick: Aiming the Dead Zone
Getting that rejection to actually count means aiming it at the right thing. Blubrry's own podcast engineering guidance recommends placing two cardioid mics back to back, roughly 180 degrees apart, so that each mic's own dead zone, the direction it hears least, is pointed squarely at the other speaker. In practice that means two people facing each other across a table do not point their mics straight at each other's mouths; each person angles their own mic toward their own face and slightly past the other person, so the rear of mic A faces speaker B and the rear of mic B faces speaker A. That single adjustment, free, requiring no new gear, is usually worth more isolation than any amount of extra distance alone.
- Cardioid, back to back: the standard recommendation for two people sharing a room, pairing roughly 15 to 25 dB of rear rejection with whatever distance separation the 3:1 rule provides.
- Hypercardioid or supercardioid: a narrower front pickup angle than cardioid with stronger side rejection, but a small rear lobe of sensitivity that a true cardioid does not have, so the back-to-back trick helps slightly less than it does with a plain cardioid.
- Omnidirectional: fine for a single speaker, or for a round-table format where picking up everyone roughly equally is the actual goal, but it cannot be aimed away from a second voice at all, which makes it a poor choice for two close, separately miked speakers in an untreated room.
- Dynamic microphones such as a broadcast-style handheld or large-diaphragm dynamic tend to be less sensitive overall than condensers, which works in your favor here: a less sensitive capsule picks up less of the room, and therefore less of the other person, for the same acoustic event.
Physical Spacing and Baffling: What the Room Itself Can Do
Mic choice and placement handle the direct path from one person's mouth to the other person's microphone. They do nothing about the indirect path: sound bouncing off a wall, a window, or a hard tabletop and arriving at the "wrong" mic a few milliseconds later from an angle the polar pattern was never designed to reject. That reflected bleed is a room problem, not a mic problem, and it gets solved the same way any reflection problem does. Basic acoustic treatment on a reasonable budget placed at the first reflection points between the two speakers, usually the wall or surface each person's voice would hit on its way past the other person, cuts down the reflected energy that a cardioid's rear rejection cannot touch at all, because that energy is arriving from the side or front, not from directly behind the mic.
A physical divider helps for the same reason, and it does not need to be elaborate. A rigid or foam-faced baffle panel standing upright between two speakers, even a simple portable shield clipped to each mic stand, blocks and absorbs some of the direct sound before it ever reaches the other mic, on top of whatever distance and pattern rejection are already doing. Commercial options exist at real scale for this exact use case: ClearSonic's IsoPac line, for instance, builds portable enclosures sized for one or two seated speakers out of acrylic panels and absorptive internal baffling, which is effectively a packaged version of the same principle a sheet of rigid foam between two desks is using for free. If you are weighing a packaged isolation solution against building your own setup from scratch, this comparison of buying versus building a vocal isolation booth runs the actual cost and performance trade-offs for that decision. Either way, keep the mics and their stands mechanically separate from a shared table or desk surface too; a stable stand with a proper shock mount stops one person's gestures, foot taps, or a dropped pen from physically vibrating through a shared tabletop into the other person's capsule, a bleed path that has nothing to do with air at all.
Gain Staging Two Live Sources Without Clipping Either One
Spacing and pattern choice control how much of the other person's voice reaches your mic. Gain staging controls what happens to that signal once it is already inside the system, and it is where a two-person setup goes wrong in a way a single-voice session never does: one shared gain knob, or two channels set by ear from across the room, almost never fit two different people's actual speaking volume. RODE's own help center guidance on gain staging is specific about the fix: start each channel's preamp gain low, raise it gradually while watching that channel's own meter, and aim for peaks landing somewhere around -12 to -6 dBFS, which leaves headroom for a line delivered louder than the calibration pass. iZotope's gain staging guide frames the target slightly differently, suggesting an average level closer to -18 dBFS with peaks still clear of 0 dBFS, which is the hard digital ceiling: cross it and you get clipping, a harsh, unrecoverable distortion that no amount of later processing fixes.
Two details matter specifically because there are two people in the room. First, set each channel's gain against that person's real speaking volume, not a shared default, and do it with both people actually talking at once during the calibration pass, since a conversational voice is often noticeably different in loudness from the same person reading a line solo into a quiet mic, which is exactly the kind of mismatch matching an unevenly loud co-host or guest deals with in more depth. Second, RODE's advice to get more signal by moving the mic closer rather than by cranking the preamp applies doubly here: boosting one channel's gain to compensate for a quiet speaker also boosts whatever bleed that channel is already picking up from the other speaker, so a gain fix for level ends up as a bleed problem in disguise. The better fix nearly always lives in the chair, not the knob: close the real physical distance between mouth and mic for the quieter speaker, which proper mic technique and proximity awareness covers directly, rather than turning up a channel that is already hearing too much of the room.
A Worked Example: Two Hosts, Two Different Volumes
Say Host A speaks at a level that peaks around -10 dBFS at a comfortable six-inch mic distance, while Host B, naturally quieter, peaks closer to -20 dBFS at the same distance on an identically set channel. Turning Host B's preamp gain up by 10 dB to match brings their voice to a comparable peak level, but it also lifts whatever bleed from Host A's voice was already sitting in Host B's track by that same 10 dB, along with Host B's room noise floor. Moving Host B's mic from six inches to three or four inches instead raises their direct signal by roughly 6 dB from proximity alone, without touching the preamp or the bleed riding along with it, and the remaining small gap is a far easier, and far less bleed-prone, fix to make up with a modest gain nudge on top. Running two separate microphones into an audio interface built to handle two simultaneous inputs cleanly rather than a single built-in laptop input is what makes setting each channel independently like this possible in the first place.
↗ Try the tool
Auto Clean Up
Even a well-placed, well-gained two-mic setup leaves some residual bleed behind, and cleaning it out by hand across two full tracks is slow work. Auto Clean Up processes both speakers' tracks from the same session, cutting dead air and quieting low-level room noise and the faint trace of the other mic in each track, without flattening either performance or disturbing the timing between them.
Open Auto Clean Up →A Setup Checklist Before Either Mic Goes Live
Run through this once, in order, before the first real take. Most of it takes minutes and none of it requires new equipment beyond what two people with their own mics already have.
- Measure, don't guess, the mic-to-mouth distance for each speaker, and use that number to set a minimum mic-to-mic distance at least three times as large, per the 3:1 rule.
- Set both mics to cardioid if they offer a pattern switch, rather than omni or a flat setting, and orient each one so its rear dead zone points at the other speaker rather than at a wall.
- Add a physical baffle or absorptive panel between the two positions if the room is untreated or the two mics sit closer than you would like, to cut down the reflected path a polar pattern cannot reject.
- Decouple each mic from a shared table with its own stand and shock mount, so taps, gestures, and shifting weight on a shared surface do not travel into the other person's capsule.
- Calibrate gain on each channel separately, with both people talking at their real conversational volume, aiming for peaks around -12 to -6 dBFS with headroom intact, and fix a quiet speaker by closing the distance to the mic before reaching for the preamp.
- Record a few seconds of both mics live but silent before the real take starts, so an editor has a clean reference of exactly how much of each voice bleeds into the other mic at the levels you actually used.
What Changes for Podcast Co-Hosts vs. Voice Actors Reading a Scene
The physics above is identical either way; what differs is how much the bleed actually matters once you are editing. A conversational podcast tolerates a little crosstalk better than a scripted dialogue scene does, because listeners already expect overlapping, informal speech between co-hosts, and a small amount of bleed reads as natural room presence rather than a flaw. A scripted two-hander, recorded in person specifically so the timing between two actors lands the way live performance timing actually works, tends to get edited more surgically afterward: individual lines trimmed, specific words isolated for a pickup, a single reading swapped out from an otherwise good take. That kind of precise, line-by-line editing is exactly where bleed turns from a minor annoyance into a real obstacle, since cutting cleanly around one actor's line becomes much harder when a clearly audible copy of the other actor's voice is riding along underneath it. If the scene truly cannot be performed in the same room, recording it remotely instead trades the bleed problem for a different one, matching timing and room tone across two separate files, which is a fair trade when the material calls for heavy post-production editing regardless of where the voices were recorded.
Frequently Asked Questions
Can mic bleed between two people in one room ever be fully eliminated?
Not with two open microphones in a shared acoustic space; there is no distance, pattern, or baffle that reduces bleed to literally zero. What the 3:1 rule, cardioid orientation, and physical baffling do, stacked together, is reduce it enough that it stops being audible in a normal edit, which is the realistic goal rather than true silence between the two tracks.
Can two people just share one microphone instead of dealing with bleed at all?
You can, and it removes the bleed problem entirely because there is only one track to begin with, but it removes your ability to edit each person's lines independently along with it. One shared mic is a reasonable choice for a casual, lightly edited conversation in a well-treated room. It is a poor choice for anything that will need individual pickups, level correction per speaker, or precise line-by-line editing later, which is most scripted dialogue work and a fair amount of podcasting too.
Is an omnidirectional mic ever the right choice for two people talking?
Occasionally, mainly for a round-table format with several people and one central mic, where picking up everyone roughly evenly is the actual goal rather than isolating one voice from the others. For two separately miked speakers each on their own channel, which is the setup this guide is about, a cardioid almost always isolates better, because it can be aimed away from the other voice and an omni cannot.
Do closed-back headphones actually reduce mic bleed?
Indirectly, yes, though not through the mechanism people usually assume. Headphones do not stop your voice from reaching the other person's mic. What they stop is the other person's headphone mix leaking back out of their ears and into their own microphone, which is a second, separate bleed path that shows up whenever monitoring is played through open-back headphones or speakers rather than sealed, closed-back ones.
If bleed sneaks through anyway, can it be fixed in editing?
Partially. A noise gate or a careful manual edit can quiet the other voice during a speaker's pauses, and general cleanup can reduce the sense of a second mic's presence underneath the main one, but neither tool truly separates two voices that were summed together by the room itself. Reducing bleed at the source, through spacing, pattern, and gain, is reliably more effective than trying to subtract it afterward, which is the reasoning behind every fix in this guide happening before the record button, not after.
If I can only do one thing from this guide, what should it be?
Turn each cardioid mic's dead zone toward the other speaker. It costs nothing, takes seconds, and according to the rejection figures cited above can be worth as much isolation as a meaningful amount of extra physical distance, without anyone having to move the table.
Sources and Further Reading
- DPA Microphones, What is the 3:1 Rule?: the manufacturer's own definition of the rule, the recommended minimum spacing ratio, and the 9 to 10 dB level-difference target it is built on.
- Slashgear, What Is The 3:1 Rule For Microphone Placement & Audio Engineering?: a plain-language walkthrough of the inverse-square-law math behind the roughly 9.5 dB drop from tripling distance.
- Blubrry Podcast Insider, Cardioid, Omnidirectional, Dynamic, Condenser: What Kind Of Mic Is Best For Podcasting?: the back-to-back, 180-degree cardioid placement recommendation for two people sharing a room.
- Lewitt Audio, Polar Patterns: rear-rejection figures for cardioid microphones, including the roughly 20 dB typical real-world rear rejection and 6 dB ideal side attenuation cited above.
- Shure, Multi-Pattern Microphones: What, Where and How?: coverage-angle guidance for cardioid, hypercardioid, supercardioid, and bidirectional patterns and how each affects source separation.
- RODE, Techniques for Gain Staging Your Microphone During Recording: recommended peak levels around -12 to -6 dBFS and the advice to move closer to the source rather than rely on preamp gain alone.
- iZotope, Gain staging: what it is and how to do it: the roughly -18 dBFS average-level target, the 0 dBFS digital clipping ceiling, and the noise-floor cost of boosting a signal after the fact.
- ClearSonic, IsoPac I: an example of a commercial portable isolation enclosure built for one to two seated speakers, using acrylic panels and absorptive internal baffling.