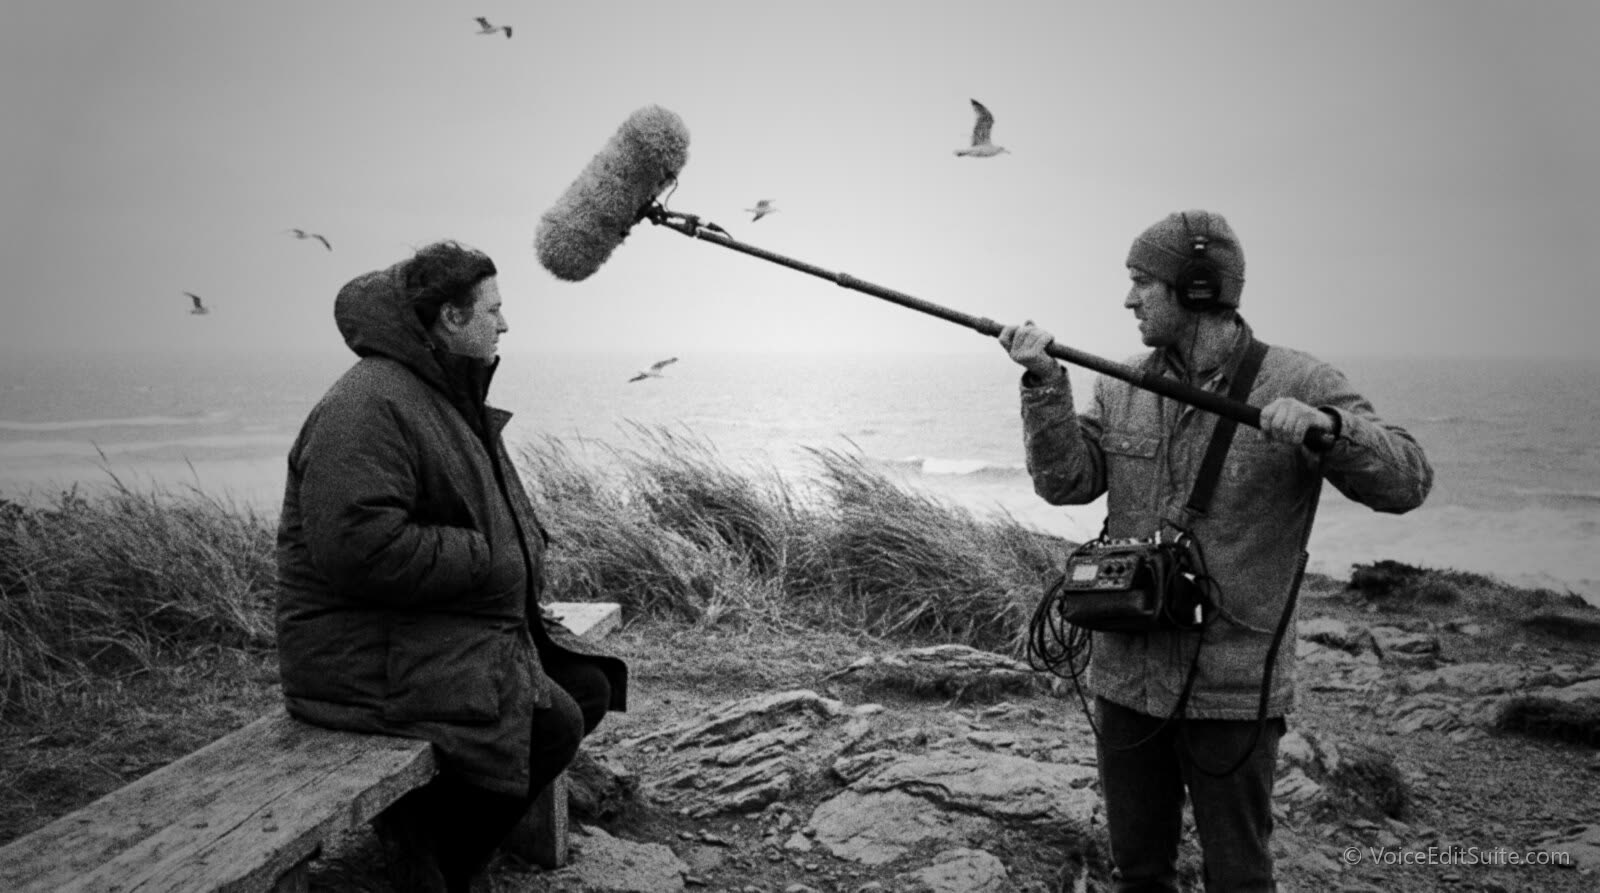
The short answer: good location sound for a documentary podcast comes from treating the microphone, the wind protection, and the ambience as three separate decisions rather than one. A shotgun on a boom and a handheld dynamic mic in your hand solve different outdoor interview problems. A thin foam sleeve and a furry windjammer solve different levels of wind, and they are not interchangeable once you are actually outside. And the ambience you record on purpose, not the ambience that leaks in behind your interview, is frequently the single clip that makes an episode feel like it happened in a real place rather than in front of a microphone.
This is a different job from getting a clean voice-over take while you travel, which our guide to portable recorders for voice over away from the booth and the broader question of a mobile voice-over rig for travel recording already cover. Those are about isolating your voice from a hotel room or a quiet corner so the take sounds like it came out of a booth. This one is the opposite goal: going outside on purpose, pointing a microphone at wind, traffic, crowds, and weather, and coming home with both a usable interview and the real sound of the place it happened in, which is what actually turns a narrated transcript into a documentary podcast.
What a Field Recording Kit Actually Needs to Do
A kit built for the field does three jobs a studio setup never has to do at once. It has to keep enough of the speaker's voice clean to be usable in the edit, it has to capture the place itself as a separate layer worth keeping rather than an accident, and it has to survive wind, moisture, and a full day of being carried without losing the one recording of a moment you cannot schedule again. None of that calls for exotic gear. It calls for a short list of the right pieces, used correctly, roughly in this order of priority.
Two items on that list get skipped more often than any others, and both show up as regret later rather than at the moment they are missing. The first is a second set of batteries, because a dead recorder in the field means a lost interview rather than a short trip to a drawer. The second is a true windjammer rather than the thin foam sleeve that shipped with the microphone, because foam alone was never built for what real outdoor wind does to a capsule, which is the first thing worth getting right before anything else on this list.
Wind Protection: Why Foam Alone Fails Outdoors
Wind noise is not the sound of wind. It is low-frequency rumble generated by turbulent air physically buffeting the diaphragm, which the microphone reads as a loud, un-filterable thump rather than as the sound a human ear actually hears when wind blows past it. A thin open-cell foam windscreen, the kind that ships stock on most shotgun and handheld mics, breaks up a little of that turbulence right at the capsule. In a quiet office or a sheltered doorway that is usually enough. At real outdoor wind speeds, the turbulence re-forms on the other side of a thin foam layer and slams into the capsule anyway, which is the reason a mic that sounded fine indoors can produce an unusable, rumbling mess the moment you step outside.
A furry windjammer, often sold as a deadcat, works differently and sits over the foam rather than instead of it. One manufacturer's own published figures for a combined foam-and-windjammer kit claim roughly 10 dB of wind-noise attenuation from the foam layer alone and a further 12 dB from the synthetic fur windjammer layered on top, according to product documentation reported by the retailer B&H Photo Video. The mechanism described in that same documentation is that the thicker, longer-haired outer layer slows the airflow down before it reaches the basket, diffusing a gust across a larger volume of fur instead of letting it hit the capsule as one sharp pulse. Those are manufacturer-published numbers rather than independently verified lab measurements, and they should be read with the same caution any spec-sheet claim deserves, but the underlying mechanism, foam breaking up turbulence at the capsule and fur slowing and diffusing it further out, matches how wind noise is generally understood to behave.
There is a real, practical trade-off worth knowing before you plan a shoot in bad weather. A furry windjammer is not a rain cover, and it behaves worse than foam once it gets wet. Documentation on Rycote-style accessories notes that the fur saturates in rain, at which point individual raindrops hitting the saturated fur become audible on the recording, defeating the purpose of the cover in a different way than wind does. For a documentary crew recording an outdoor interview in genuinely wet conditions, the practical fix is less about the windscreen and more about shelter: an awning, a vehicle, an umbrella held just out of frame, anything that keeps the mic dry while the windjammer handles the gusts it was actually designed for.
Use the environment as a windbreak
Field recording guides consistently recommend positioning yourself and the mic downwind of something solid, a building, a vehicle, a boulder, a dune, whenever the location allows it, and recording with your back angled away from the wind rather than directly into it. This costs nothing and stacks on top of whatever windscreen you are already using. A residual low rumble that still gets through can often be reduced further with a high-pass filter at the recorder or in the edit, since wind noise concentrates heavily in the low frequencies the human voice rarely needs.
Shotgun or Handheld: Choosing the Right Mic for an Outdoor Interview
The two most common choices for an outdoor documentary interview solve different problems, and the choice comes down to whether the interview is planned and stationary or mobile and spontaneous. RODE's own interview-recording guidance recommends a shotgun or lavalier for a setup where the subject stays in roughly one place and the interviewer has time to frame the shot, since a shotgun's narrow pickup pattern rejects more of what is happening off to the sides and it can sit just out of frame on a boom or a stand. That stops working the moment the interviewer needs to move, approach someone unexpectedly, or work a crowd, which is exactly the situation a handheld dynamic mic is built for.
A handheld dynamic microphone trades reach for speed and ruggedness. Audio-Technica's own guidance on choosing a handheld mic for video puts the working distance at roughly six to eight inches from the speaker's mouth, close enough that the mic will usually be visible in a video frame, but for an audio-only podcast that is simply the price of a dynamic capsule's much better rejection of everything behind it: traffic, wind buffeting, and the general noise floor of a public place. The same guidance notes that a cardioid handheld needs the interview subject to stay genuinely close, while an omnidirectional handheld, built to be held between two people speaking, gives a smoother back-and-forth for a two-person conversation at the cost of picking up more of the room around both of them. Understanding why that close-mic'd sound differs so much from a mic working at a distance is really a proximity effect question, covered in more depth in our guide to mic technique and the proximity effect, and the windscreen logic above carries over directly from the studio basics in our comparison of pop filters and foam windscreens, just scaled up for real outdoor wind rather than a plosive at a desk.
For planned, stationary setups, a short shotgun such as the Sennheiser MKH 416 remains a common documentary choice for reasons worth understanding rather than taking on faith. Sennheiser's own published specification lists a frequency response of 40 Hz to 20 kHz, a sensitivity of roughly 25 mV/Pa, a maximum sound pressure level of 130 dB, and a requirement for 48 volt phantom power at about 2 milliamps, in a compact interference-tube body weighing 175 grams. Sennheiser's documentation also describes the mic as comparatively resistant to proximity effect, which is part of why the same microphone shows up both on location booms and, closer in, in voice-over and ADR work. The manufacturer's own product sheet bundles a foam windscreen and a stand clamp as standard accessories but is explicit that outdoor use needs a proper furry windshield on top, not the foam alone, which is the same lesson from the wind section above applied to a specific, widely used piece of gear.
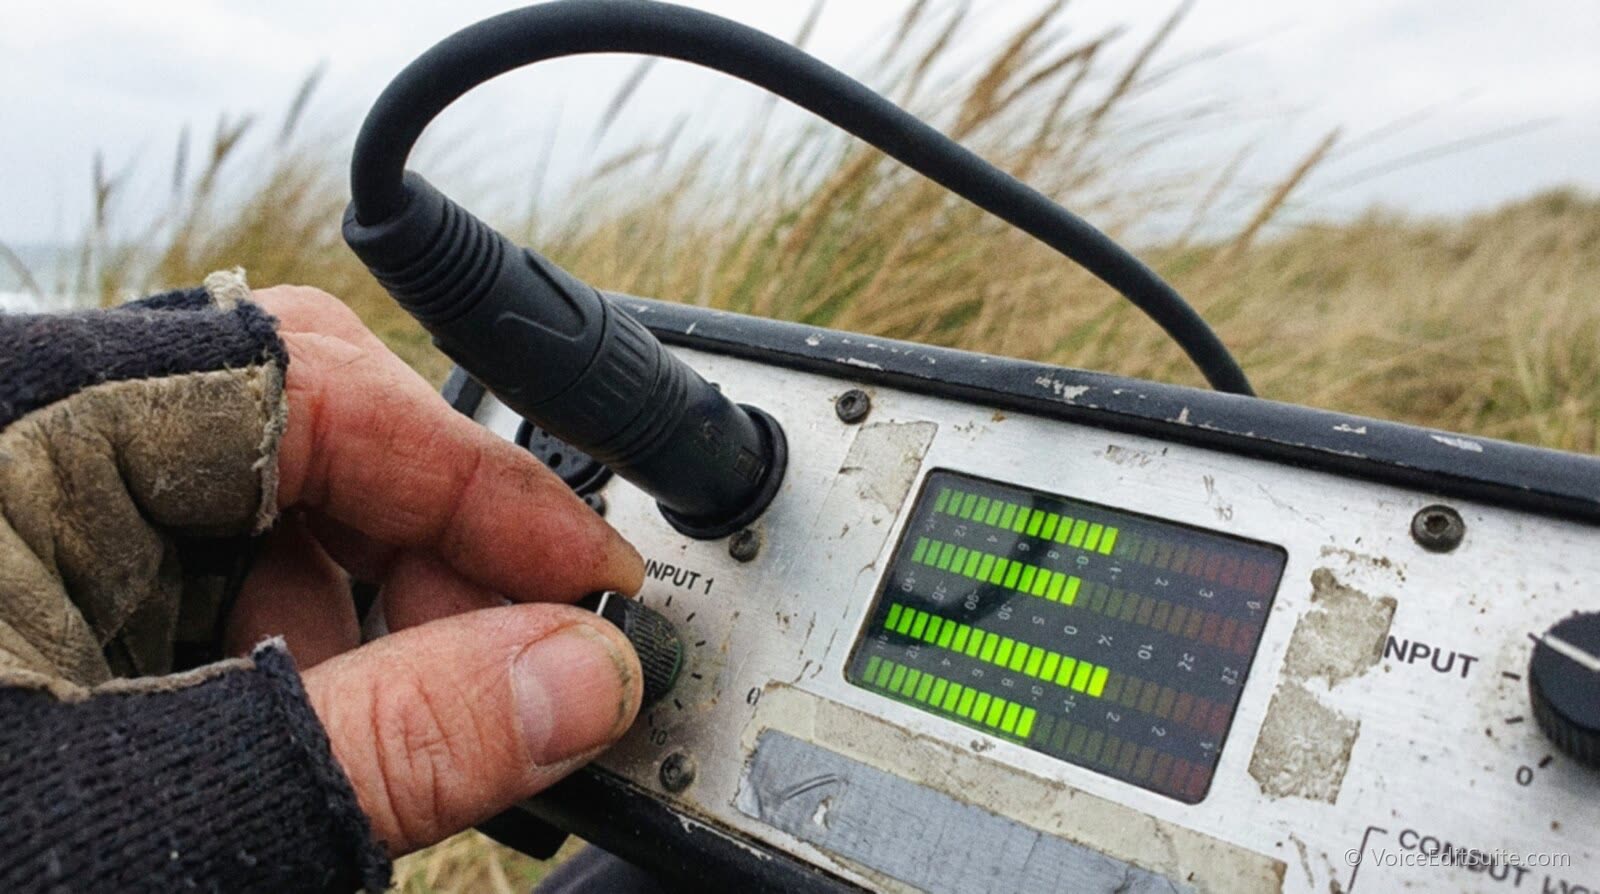
Whichever mic you choose, the decision is rarely permanent for a whole shoot day. A crew covering a walking tour, a protest, or a market will often carry both: a handheld dynamic for the moments that happen without warning, and a shotgun on a short boom for the sit-down conversation planned in advance. Neither one is simply better. A shotgun thirty feet away loses far more usable signal than a handheld dynamic held close, and no amount of post-processing fully recovers a voice that was recorded too far from its source in a noisy outdoor space.
Recorder Specs That Actually Matter in the Field
Battery behavior matters more away from a wall outlet than any spec sheet emphasizes. A recorder that runs on standard AA cells can be kept alive almost anywhere a convenience store exists, while a dead proprietary battery pack with no charger nearby simply ends the session. Zoom's H6, a common choice for exactly this kind of work, is commonly reported to run around 20 hours on alkaline AAs, while the smaller H5 is reported closer to 10 to 15 hours on two AAs, both figures drawn from retailer and reviewer documentation of the units rather than a single definitive manufacturer runtime chart, so treat them as a useful range rather than an exact promise. Either way, the practical lesson is the same one covered for travel-focused recorders in the portable recorder guide referenced earlier: carry more batteries than feels necessary, because the alternative in the field is not an inconvenience, it is a missing interview.
A second XLR input, or a third and fourth, is worth prioritizing over almost any other spec once you are recording documentary-style rather than a single voice. Zoom's H6 ships with four combo XLR and TRS inputs with phantom power, enough to run a shotgun on the interview subject and a second mic dedicated purely to ambience at the same time, while the smaller H5 ships with two such inputs and can take an optional module for two more. Sound Devices' MixPre-6 II, a step up in price aimed squarely at professional field production, documents four mic or line XLR inputs on its own published specification sheet, each one described as RF-filtered and overload protected, which matters more outdoors near radio towers, PA systems, and other equipment than it ever does at a desk.
A built-in limiter is the spec that saves a take you could never re-record. Zoom's recorders list a limiter alongside a compressor and a low-cut filter in their published feature set, engaging automatically as input levels approach the recorder's maximum before clipping occurs. Sound Devices' documentation for the MixPre-6 II describes a limiter present at every gain stage, with more than 40 dB of total limiting range and adjustable threshold, ratio, and release, the first stage analog and the later stages digital. In a controlled booth a clipped word just gets a second take. On location, a passing truck horn, an unexpected cheer, or a gust that briefly overwhelms the capsule happens exactly once, and a limiter that catches it is the difference between a usable clip and a hole in the interview.
Recording Ambience and the Wild Track as a Storytelling Layer
Documentary film and radio production has a specific term for sound captured deliberately, separate from the main interview or dialogue, that is meant to be used alongside it: a wild track. The National Film and Sound Archive of Australia's own preservation glossary defines it plainly as sound recorded on a set or on location without the main recording running at the same time, historically used for sound effects or dialogue that was too difficult to capture cleanly during the actual shot. A podcast has no camera rolling to interrupt, but the concept transfers directly: ambience recorded on purpose, with full attention paid to the recorder and the mic position, rather than ambience that simply leaked into the background of an interview you were really focused on getting right.
NPR's own training materials are specific about how to capture it. NPR Training's field recording checklist instructs reporters to record about one minute of room tone or ambience at the same microphone position used for the actual interview, and its companion training post recommends roughly 90 seconds per scene and interview, with the recorder's levels left untouched so the ambience matches what was captured during the conversation itself. A separate field guide, written by a public radio reporter and republished by the audio software company iZotope, explains the editorial reason plainly: ambience and room tone give an editor a clean noise bed to smooth over cuts in an interview, covering the small gaps left when a stumble or a repeated phrase gets trimmed out, a point that connects directly to our guide on room tone and noise floor for anyone used to thinking about this only as a studio concern.
Ambience is not only a repair tool. Used deliberately, it can carry the opening or closing of a scene on its own. A field recording training guide published by Farm Radio International, aimed at radio producers working in the field, gives the example of a story about honey production opening with the recorded sound of bees before any interview begins, and recommends fading ambience up, holding it briefly, and fading it back out rather than cutting away from an interview abruptly into silence. That same instinct, letting the place speak for a few seconds before or after the people in it do, is most of what separates a documentary-style podcast from a plain interview show, and it is a close cousin of the soundscape work covered in our guide to producing audio drama and fiction podcasts, even though one is captured in the field and the other is usually built afterward.
Practical housekeeping matters here as much as technique. Label the ambience file the moment you record it, on the recorder itself if it lets you rename tracks, because an unlabeled thirty-second clip of wind and distant traffic is indistinguishable from a dozen others by the time you are editing weeks later. And if a scene genuinely calls for ambience you were not able to capture yourself, such as a specific bird call or a type of weather you cannot schedule, credit whoever recorded the sound you borrow. That courtesy, raised specifically in the Farm Radio guidance above, matters just as much for a soundscape sourced from a field-recording library as it does for a quoted interview.
Interview Technique When You Can't Control the Environment
A studio interview and a sidewalk interview fail in opposite ways. In a studio, the main risk is a flat, over-controlled read. In an uncontrolled outdoor environment, the main risk is trying to force one single recording to do two jobs at once: an intelligible interview and an honest sense of place. The more reliable approach is to stop fighting the environment and instead record the two things separately wherever you can, a clean, close interview and an open ambience track, then let the edit combine them rather than hoping one take captures both well.
Handling noise and plosives get worse outdoors, not better, because the same gusts that challenge a windscreen also tempt an interview subject to grip or shift a handheld mic nervously. A shock-mounted mic on a short boom or a pistol grip keeps hands off the microphone body entirely, which removes one whole category of noise before it ever reaches the recording. Where a handheld mic is the only practical option, coach the subject the same way you would coach yourself: speak slightly across the mic rather than directly into it, since a straight-on angle sends breath and plosive bursts straight at the diaphragm, while a slight angle lets the capsule's own pattern do the rejecting it was designed to do.
Positioning solves more problems than any piece of gear. Where you can choose, put the loudest unavoidable noise source, a busy road, a generator, a crowd, behind the interview subject rather than behind you, so the subject's own body partially blocks it from the mic rather than the mic picking it up head on. Where you genuinely cannot control the environment, such as a protest or a market where the noise is the whole point of the scene, stop treating it as interference and start treating it as content: record a dedicated ambience pass of that same noise, separately and deliberately, using the wild track approach above, so the edit has both an intelligible version of what was said and an honest version of what it sounded like to be there.
↗ Try the tool
Auto Clean Up
A field interview almost always needs more cleanup than a booth take, however carefully you positioned the mic on site: handling bumps, a stray gust that got past the windjammer, filler words repeated while the subject found their thought. Auto Clean Up transcribes the raw field recording, trims the dead air and stumbles, and quiets breaths and clicks without flattening the room sound underneath, so the interview still sits naturally against the ambience track you recorded alongside it.
Open Auto Clean Up →None of this works without a level check before the moment actually happens. Ask a few throwaway questions on arrival, watch the meters while the subject answers at a normal volume, and set your gain for the loudest realistic moment of the conversation rather than the average one, since a clipped peak in the field cannot be un-clipped later the way a slightly quiet take can still be brought up. That single habit, checking levels against the loudest likely moment rather than the first thing someone says, prevents more ruined interviews than any single piece of gear on the kit list above.
That third column matters because the three jobs genuinely do not share one setup. Recording a travel-friendly voice-over take in a hotel room, covered in detail in the portable recorder and mobile rig guides linked earlier in this piece, is closer to a miniature studio problem: find the quietest, most absorbent corner available and close-mic a controlled read. Recording ambience and recording a documentary interview outdoors are both field problems, but they still call for different mic patterns, different distances, and different risks to watch for, which is exactly why treating field recording as one single skill, rather than three related but distinct ones, is where a lot of otherwise careful podcast producers go wrong on their first location shoot.
Bringing the Field Recording Into the Edit
A location shoot is only half the job. Field audio, however carefully recorded, almost always needs a cleanup pass that a booth recording does not: leveling out a conversation that moved closer to and further from the mic as the subject gestured, taming a wind rumble the windjammer reduced but did not eliminate, and fitting the finished mix into whatever loudness target the rest of your show already follows. Our guide to cleaning up podcast audio without hours of manual editing covers the general workflow, and the mastering chain and order of operations guide covers where a field recording's cleanup should actually sit relative to compression and loudness normalization once it is cut into the rest of the episode.
If the narration stitching your field recordings together is doing real documentary work rather than just introducing clips, the craft of pacing that narration to the material around it, restraint, authority, and timing, is covered fully in our guide to getting started in documentary narration, which was written for exactly the moment where a well-recorded interview and a deliberately captured ambience track need a narrator's voice to connect them into one coherent scene rather than two separate clips played back to back.
Frequently Asked Questions
Do I really need a furry windjammer, or is the foam that came with my mic enough?
Foam alone is usually enough indoors and in genuinely sheltered outdoor spots, but it was never designed for sustained outdoor wind. The turbulence that causes wind rumble reforms past a thin foam layer at real wind speeds and still hits the capsule. A furry windjammer worn over the foam, not instead of it, slows and diffuses that turbulence across a larger surface before it ever reaches the microphone, which is why serious outdoor work treats the two as a combined system rather than a choice between them.
Should I use a shotgun mic or a handheld mic for an outdoor interview?
It depends on whether the interview is planned and stationary or mobile and spontaneous. A shotgun on a boom or stand works well for a sit-down conversation you have time to set up, since it can sit just out of frame and still reject a good amount of surrounding noise. A handheld dynamic mic, held roughly six to eight inches from the subject's mouth, suits a mobile setup where you need to approach someone and start recording immediately, trading reach for ruggedness and much stronger rejection of whatever is happening behind the mic.
How much ambience should I record at a location?
Field recording and public radio training guidance generally lands on roughly 60 to 90 seconds, recorded at the same microphone position used for the actual interview and with the recorder's gain left untouched, so the ambience genuinely matches what was captured during the conversation. Record it both before the interview starts and after it ends if the location allows, since a crowd or a weather condition can change in the time it takes to do one interview.
Does battery type actually matter for a field recorder?
It matters more than most spec sheets suggest. A recorder that runs on standard AA cells can be kept running almost anywhere a shop sells batteries, while a dead proprietary rechargeable pack with no charger nearby simply ends the session. For any shoot where you cannot guarantee access to power, carrying spare AAs, or confirming your recorder supports them, is worth more than almost any other upgrade on the kit list.
Is a wild track the same thing as ambience?
They overlap heavily in podcast production even though the term comes from film and television, where it specifically means sound recorded on location without the main take rolling. For a podcast, the practical version is the same idea: ambience or room sound captured deliberately, as its own clip, rather than whatever happened to bleed into an interview you were focused on recording cleanly. Both serve the same purposes, smoothing edits and establishing a sense of place.
What can I do about wind noise in the moment, besides gear?
Positioning helps as much as equipment. Stand so a building, vehicle, dune, or other solid object blocks the wind between it and the microphone, and angle your back toward the wind rather than recording directly into it, since both reduce how much turbulence ever reaches the capsule in the first place. A residual low rumble that still gets through a windjammer can usually be reduced further with a high-pass filter, since wind noise sits mostly in frequencies well below the human voice.
Sources and Further Reading
- B&H Photo Video, Rycote shotgun mic foam and windjammer combination listing: the manufacturer-published wind-noise attenuation figures (roughly 10 dB foam, a further 12 dB windjammer) and the slowed-airflow mechanism cited in this guide.
- RODE, How to Record Better Interview Audio: RODE's own guidance on choosing a shotgun, lavalier, or handheld mic depending on whether an interview is stationary or mobile.
- Audio-Technica Blog, Basic Audio Techniques: Selecting the Right Handheld Microphone: the six-to-eight-inch handheld working distance and the cardioid versus omnidirectional handheld comparison used in this guide.
- Sennheiser, MKH 416 product specification sheet and Sennheiser's published specs page for the MKH 416: frequency response, sensitivity, maximum SPL, phantom power draw, weight, and the manufacturer's own note on outdoor windshield requirements.
- CineD, Zoom H5 Audio Recorder review: reported battery life and input specifications for the Zoom H5, cited here alongside retailer documentation of the Zoom H6's comparable specs.
- Sound Devices, MixPre-6 II specification sheet: the four mic/line XLR input count and the published limiter design, with more than 40 dB of range and an analog first stage.
- National Film and Sound Archive of Australia, Preservation Glossary: Wild Track: the definition of a wild track used in this guide.
- NPR Training, Get Great Sound Every Time With This Field Recording Checklist and NPR's printable field recording checklist (PDF): the recommended 60 to 90 seconds of room tone or ambience, recorded at the same mic position as the interview.
- iZotope, 6 Tips for Recording Interviews in the Field: a public radio reporter's guidance on using room tone as a noise bed for smoothing edits.
- Farm Radio International, How to Effectively Use Wild Sound in Your Radio Program: the honey-production example, the fade-up-hold-fade-out technique, and the guidance on crediting borrowed field recordings referenced in this guide.
- VoiceEditSuite, Portable Recorders for Voice Over Away From the Booth and Mobile Voice-Over Rig for Travel Recording: companion guides on the distinct problem of recording a clean, controlled voice-over take while traveling.